Last updated at Thu, 31 Aug 2017 14:06:18 GMT
The Windows Registry is a database which stores all settings for a Windows system, e.g. hardware, software installed, Windows updates installed and preferences for users and their applications. During normal day to day use a standard user will inadvertently push changes into this database when they update the system, add/remove applications and so on.
Remote Registry is a Windows service which allows a non-local user to read or make changes to the registry on your Windows system when they are authorized to do so. Yes; you read that right - when enabled this service give a remote user complete access to your Windows Registry. However this isn't as scary as it sounds, given that the remote user has to authenticate with the system and be authorized to read and make changes to the registry. This serves as a powerful tool for system administrators managing large numbers of Windows systems.
From Nexpose 6.1.7 users can configure a scan template to temporarily enable Remote Registry on all Windows devices as they are being scanned. This allows information to be retrieved from the registry and means Nexpose can collect more accurate data from the assets. In the Nexpose site configuration a user will need to add credentials which have appropriate permissions on the target systems to read from the registry. Once the scan is complete the Remote Registry service will be returned to it's prior state.
Why is this useful? The Windows Registry holds all sorts of interesting information, which can't be accessed normally - even when using a credentialed scan. As Remote Registry is off by default for most Windows systems, being able to temporarily enable this service gives you a secure method to collecting this additional data. Safely returning the systems to their original state once they have been successfully scanned ensures security is maintained.
Enabling the Remote Registry setting is as simple as checking a box on the relevant scan template then choosing that scan template for your site, and can be performed by a Global Administrator or Administrator. Alternatively a site owner could choose a scan template for their site which already has this option enabled.
To enable Remote Registry for a given Site:
- Navigate to the relevant Site, choose "edit site" option
- Navigate to the Templates tab of the site configuration page
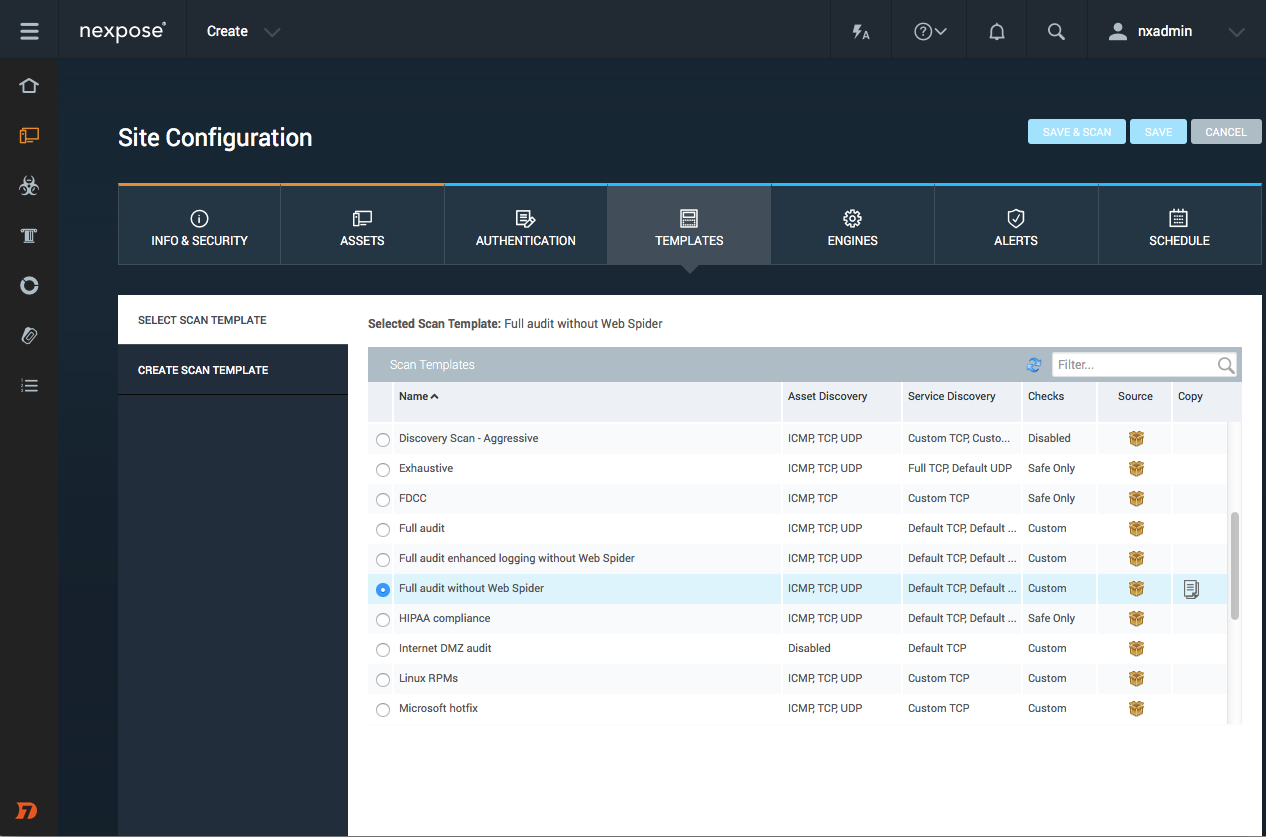
- Under the "Select Scan Template" section - copy an existing template using the icons at the end of the table row (or edit a custom template)
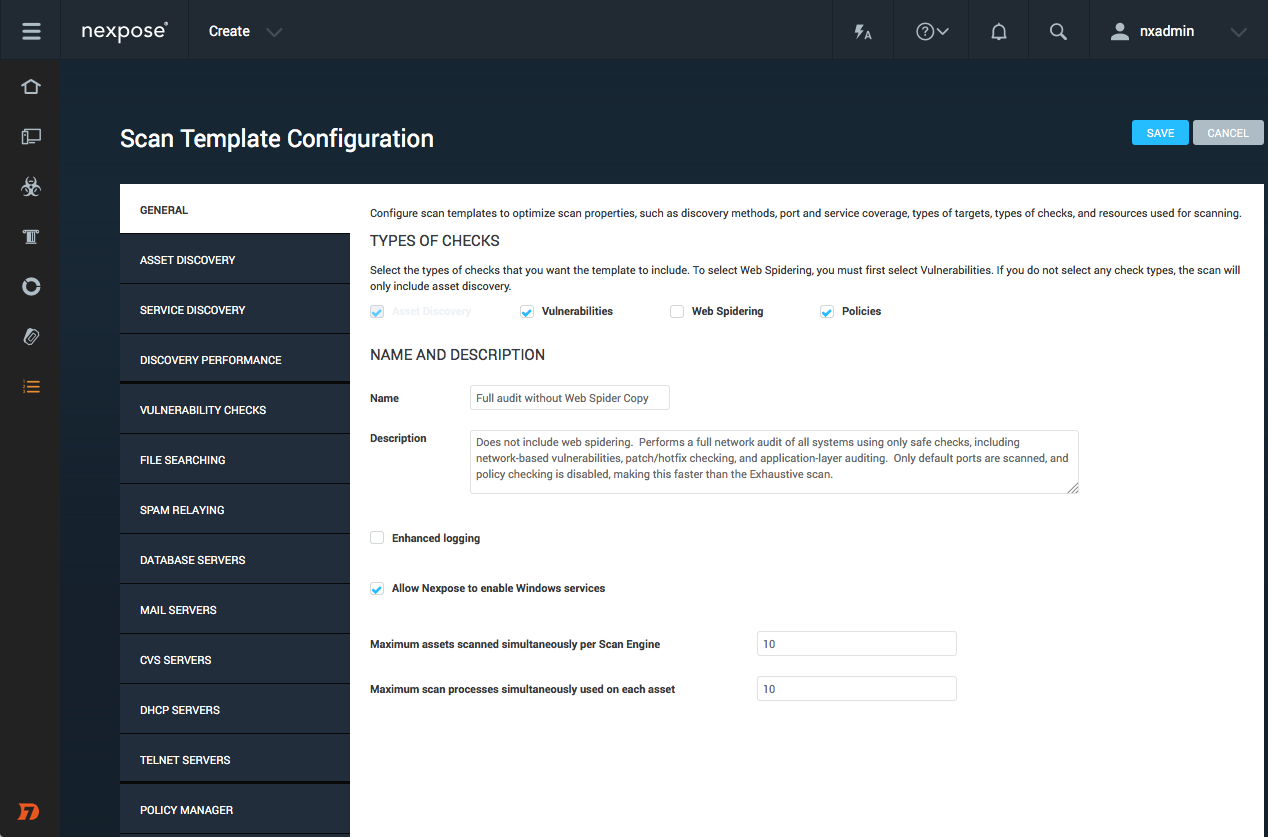
- In the new window showing "Scan Template Configuration" options, enable check box for "Allow Nexpose to enable Windows services"
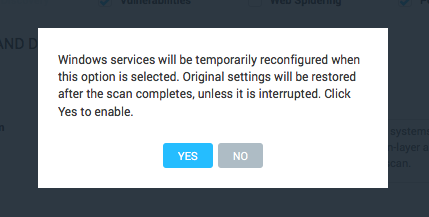
- Read and accept warning
- Save
The next step is to run the scan and see the results - with the benefits of more accurate scan results and less false positives.
To disable Remote Registry, an authorized user can update the scan template being used for a site in the site configuration, or alternatively can select a different scan template which does not have this option switched on. Easy, right?