Last updated at Thu, 14 Dec 2023 23:20:07 GMT
Security professionals today face great challenges protecting their assets from breaches by hackers and malware. A good vulnerability management solution could help mitigate these challenges, but vulnerability management solutions often produce huge volumes of data from scanning and require lots of time spent in differentiating between information and noise.
Rapid7 Nexpose helps professionals identify the most critical assets that can be exploited. With this information the security professional can take necessary steps to mitigate the risk.
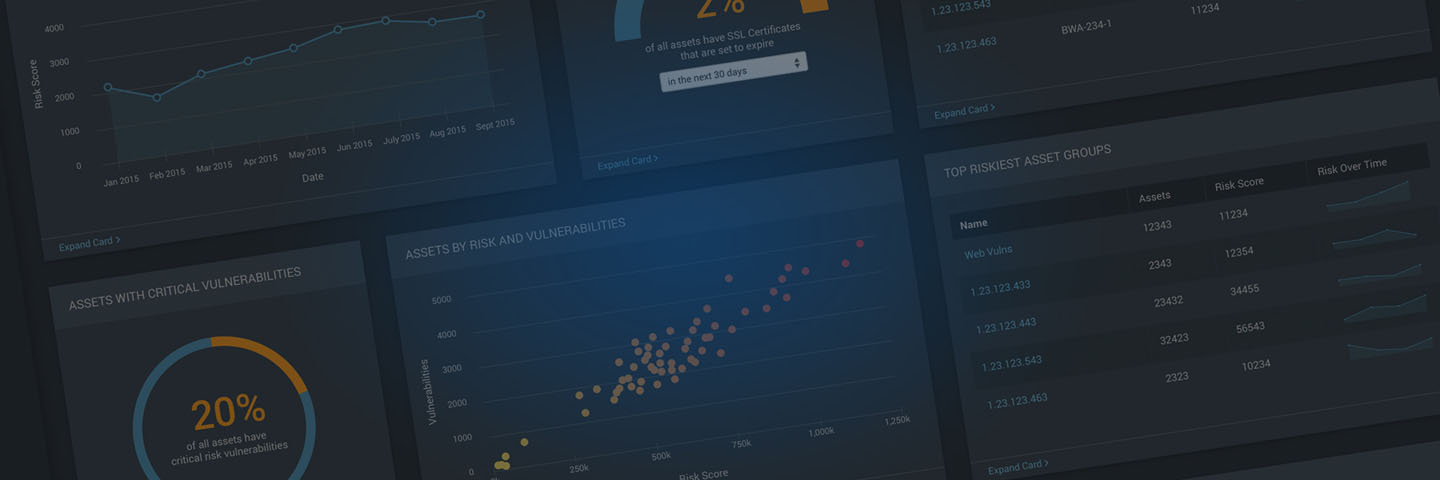
A vulnerability has a risk score of 0 – 1000, calculated using Rapid7's security intelligence. An asset's risk score is calculated by adding the risk score of all its vulnerabilities. Essentially, a higher risk score on an asset implies that the asset is more vulnerable to attack. Unlike a CVSS score which does not consider the whole context of the identified vulnerability, the Real Risk Score, as we call it, adjusts a CVSS value by analyzing each risk element separately incorporating temporal and governance parameters.
Temporal parameters look at the age of a vulnerability, as well as how many exploits and/or malware kits use the vulnerability. Temporal score increases over time, increasing risk score.
Governance parameters follow asset tagging in Nexpose which lets you tag assets as more critical or less critical than others, raising or lowering risk scores accordingly.
The integration of ePO with Nexpose allows the security professionals to leverage Rapid7 Security Intelligence to identify and mitigate real risks that have a higher potential negative impact on the environment and take the right steps to mitigate those risks.
Setting Up Risk Score Integration
To integrate ePO with Nexpose a site must be configured in Nexpose to hold all of the assets that are imported from ePO during the integration process.
The following steps show how to set up an ePO integration with Nexpose and how to push risk scores from Nexpose into ePO:
1. Go to the Administration page on Nexpose
2. Click on Create Discovery Connection
3. From the Connection Type, choose Intel Security ePolicy Orchestrator
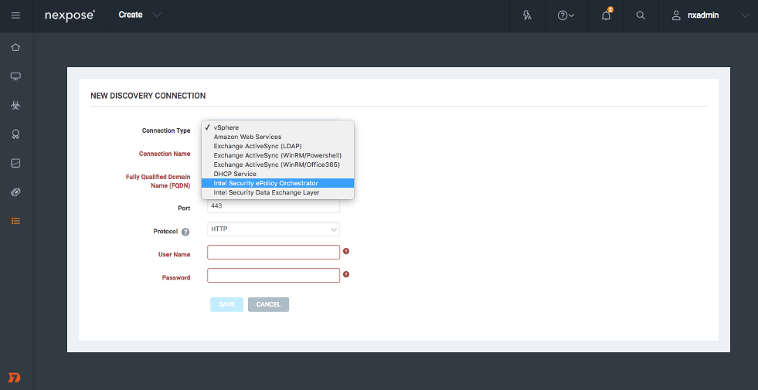
4. Enter all the information needed to connect to ePO server.
5. Check the option “Consume assets” and select a site in which all the existing assets in ePO will go.
6. Check “Push risk scores” to have Nexpose risk scores pushed to ePO.
7. Click the Test Credentials button to ensure all the entered information is correct, if all the details are valid the following message will appear.

8. Click on Save to save the connection and start the integration process between ePO and Nexpose.
Shortly after clicking save, the site selected in the configuration will start importing assets from ePO.
After the assets have been imported, trigger a scan on the site with any scan template other than the discovery scan template. Once the scan is completed, risk scores identified by Nexpose will now be present in ePO.
There is a convenient built-in dashboard present in ePO that shows the top 10 riskiest assets in ePO as identified by Nexpose. The following screenshot shows the dashboard:

Now Rapid7 Nexpose has provided the risk exposure information to all ePO partners to see the real risk associated with these assets. With this critical information the respective administrators can work together on the next steps to mitigate the risk identified. Some common operations include quarantining systems, pushing updates to assets and setting up compliance policies.
Already a McAfee customer? Be sure to download a trial license of Nexpose and try the integration today!